Building the underwater camera housing

A compact step-by-step guide for building the PVC camera housing, sealing the plexiglass window, installing the UTP cable entry and mounting the camera on a stable bottom plate.

Start Building
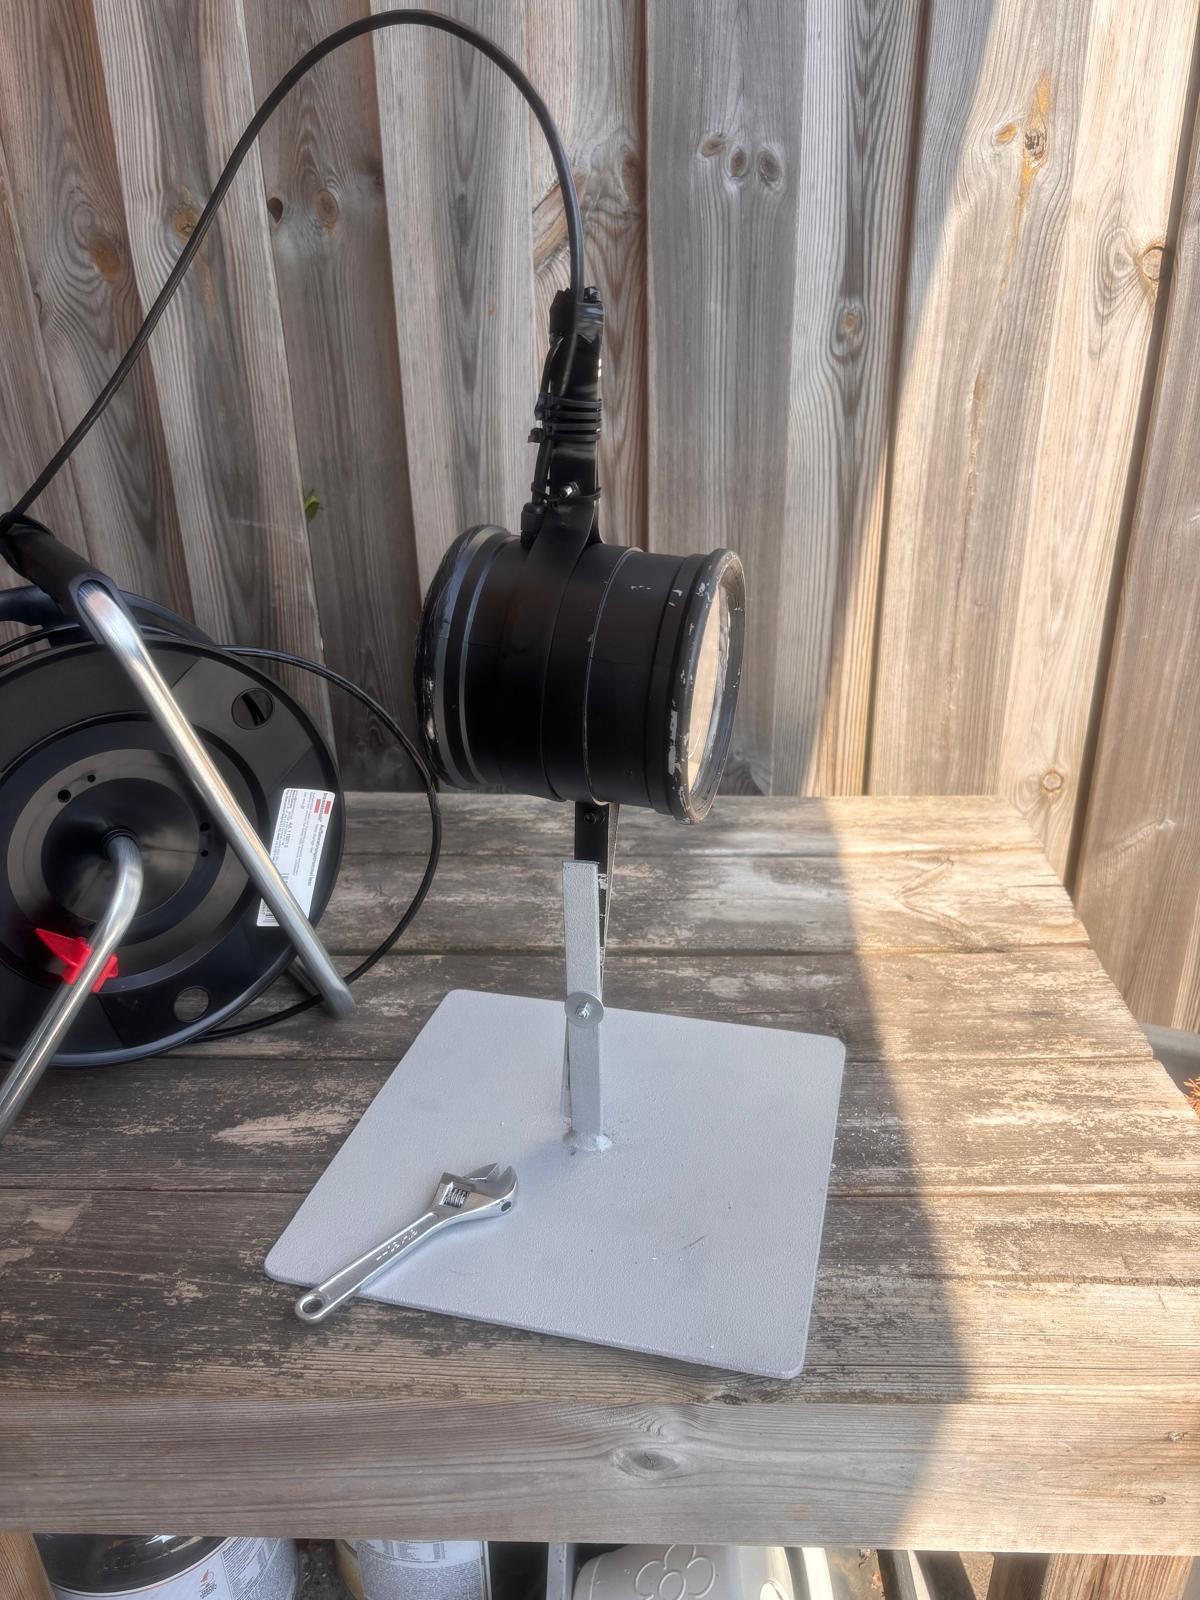
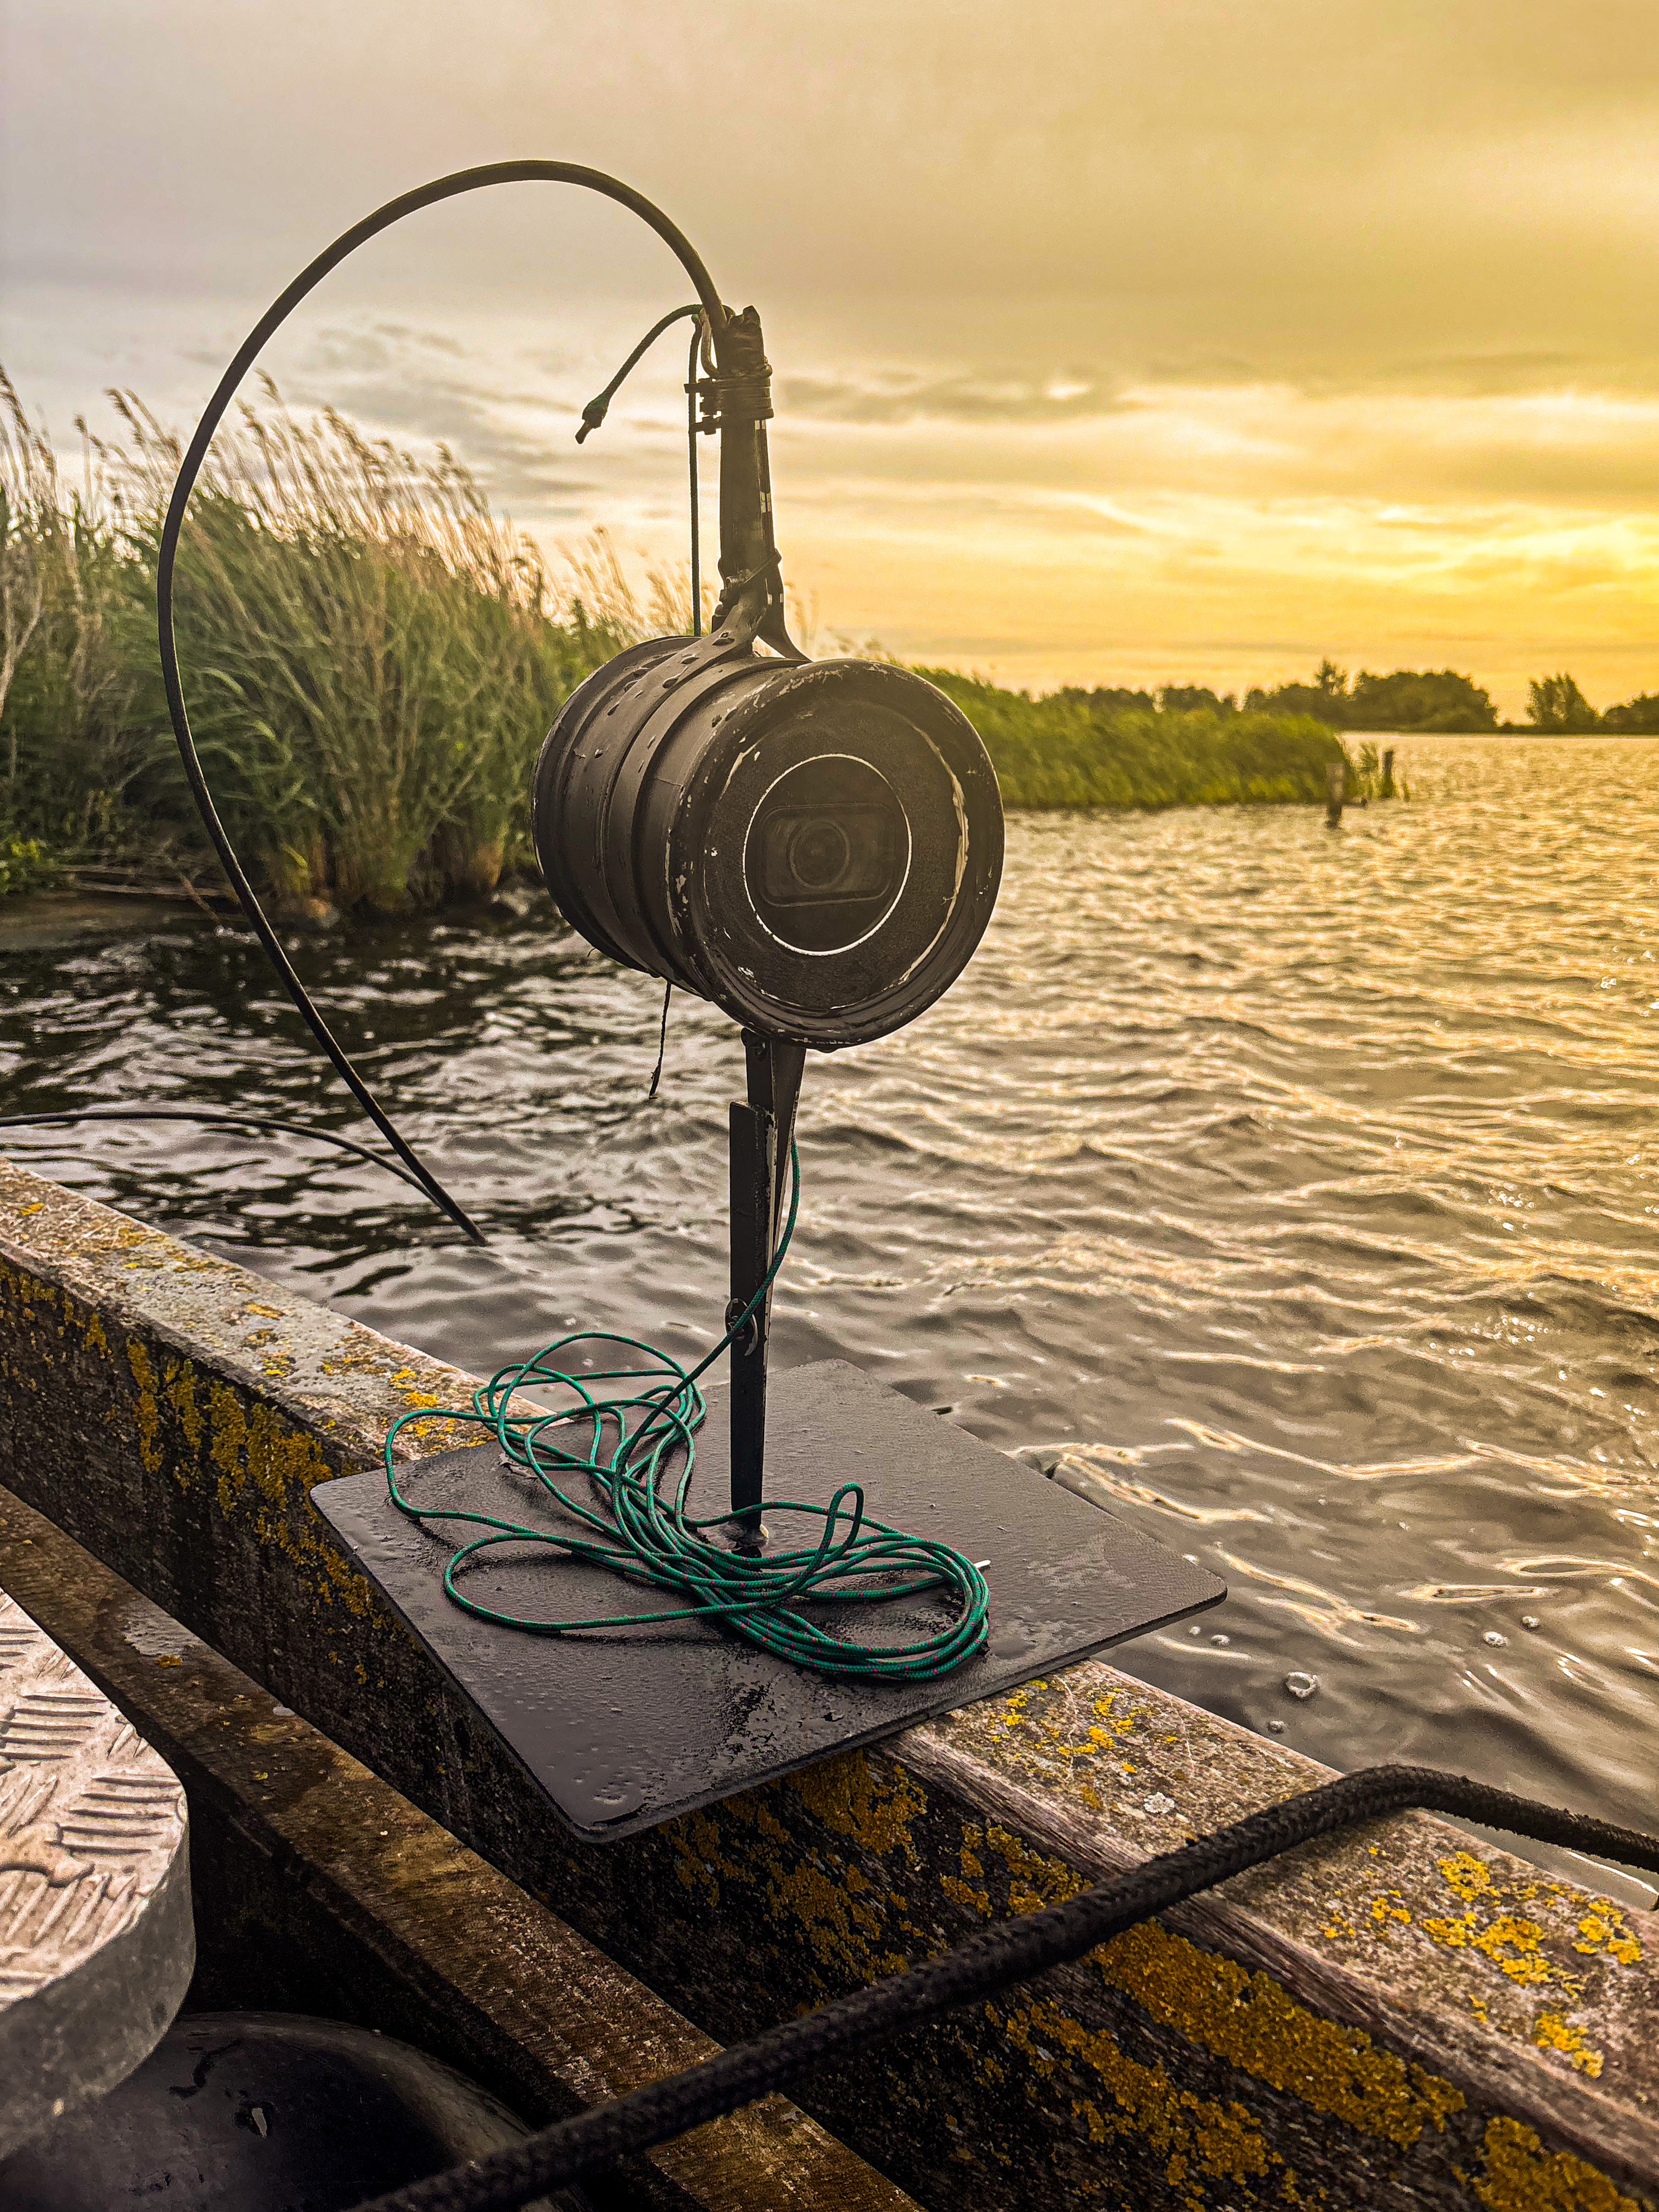
Finished underwater camera setup

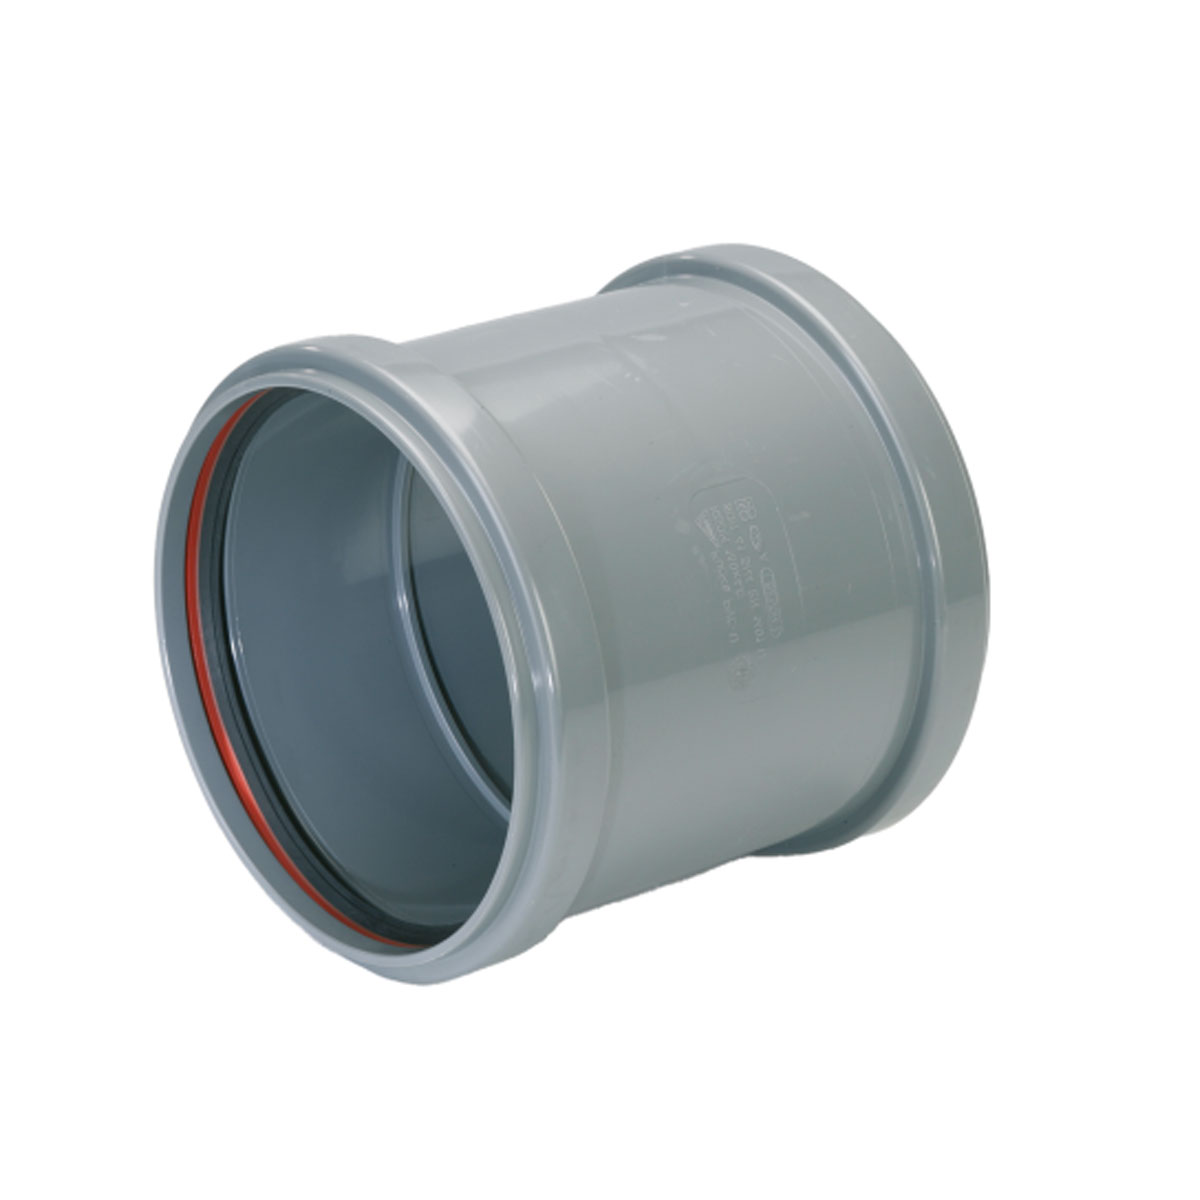
Basic parts for the housing build

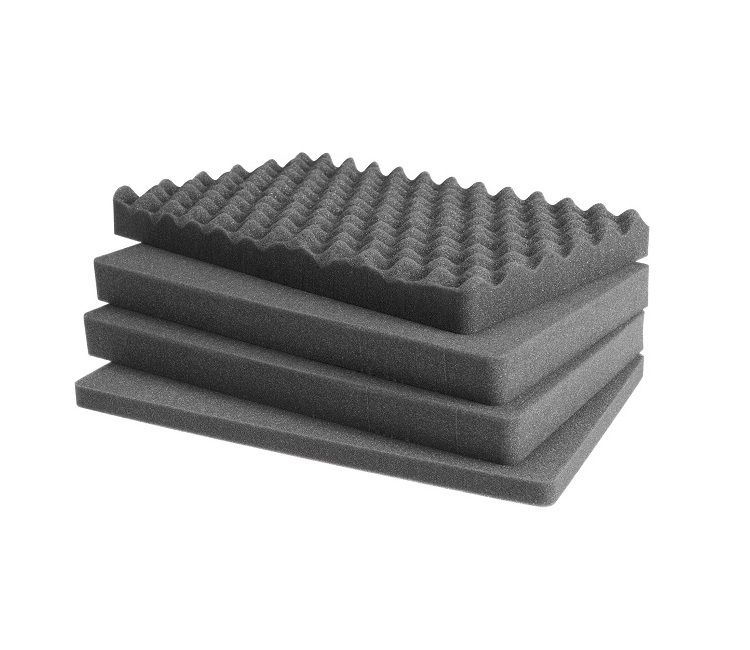
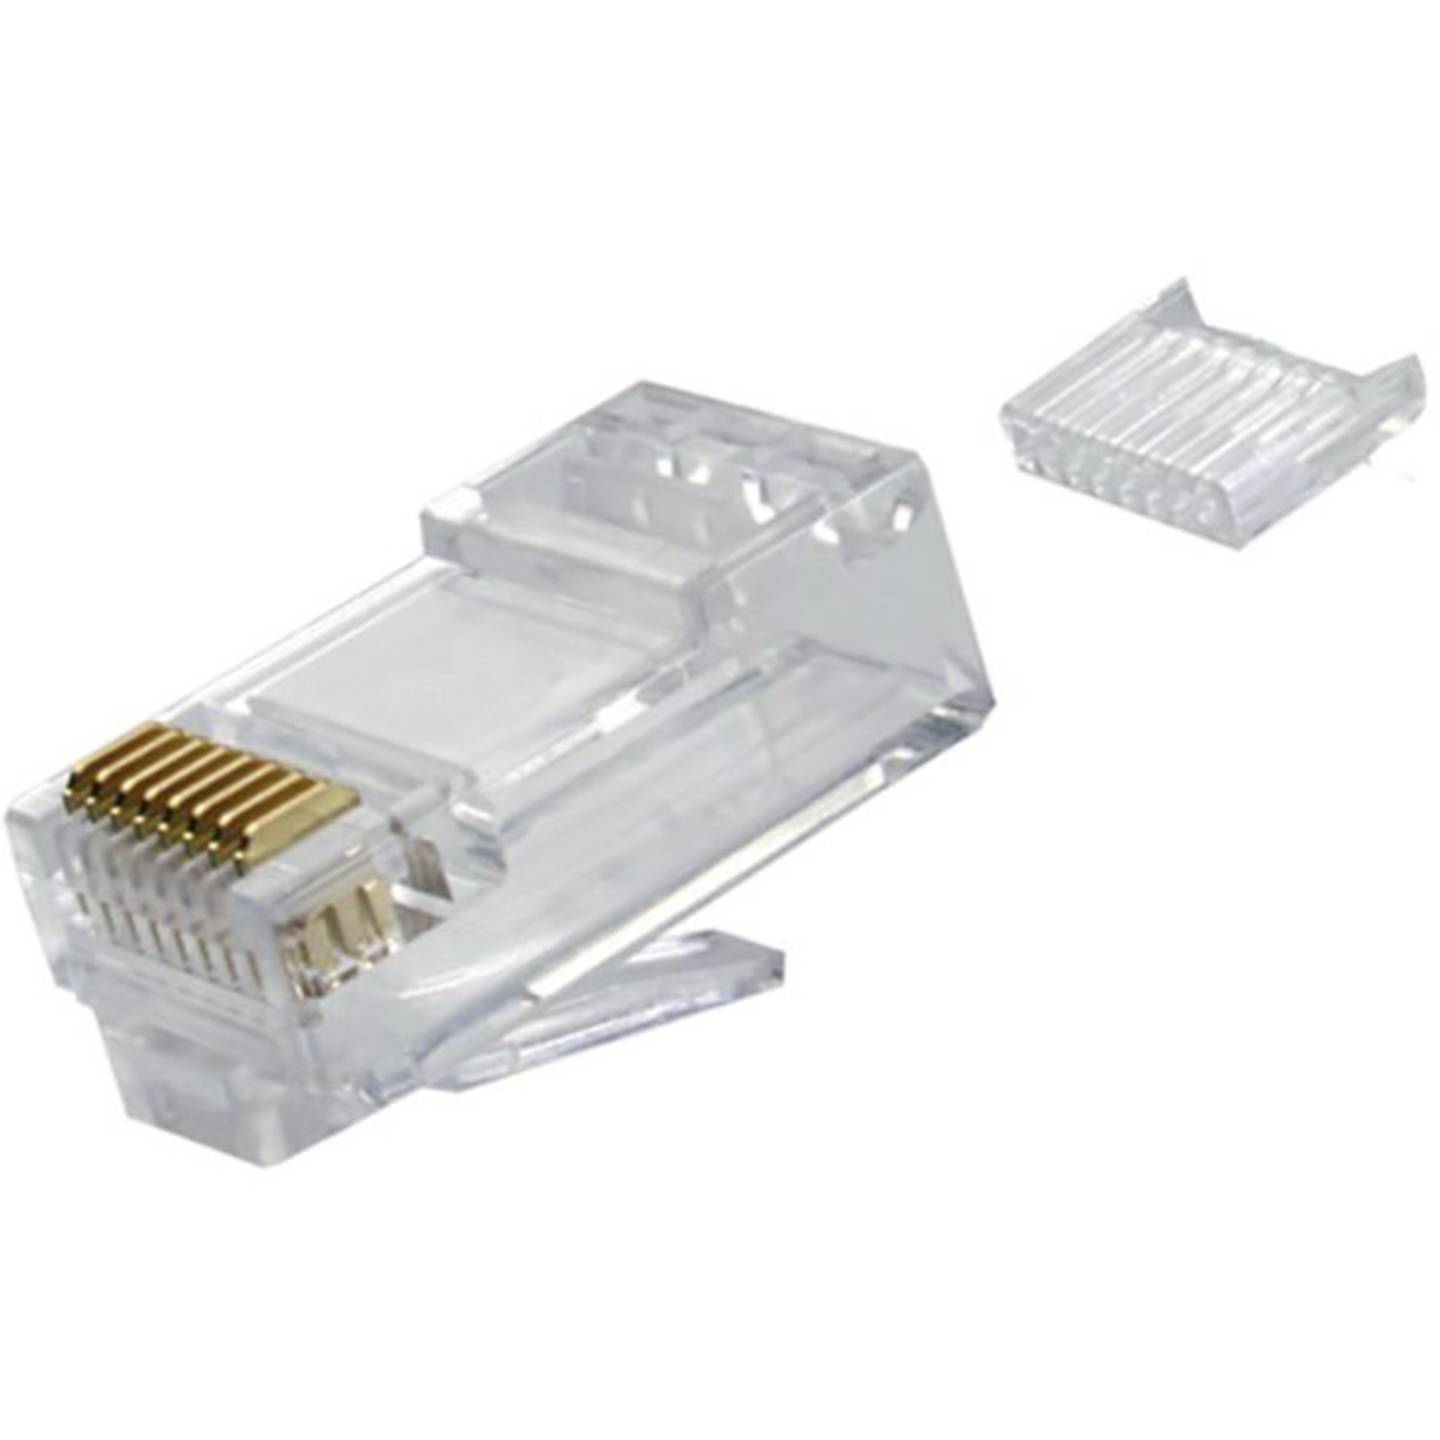
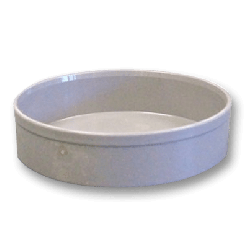
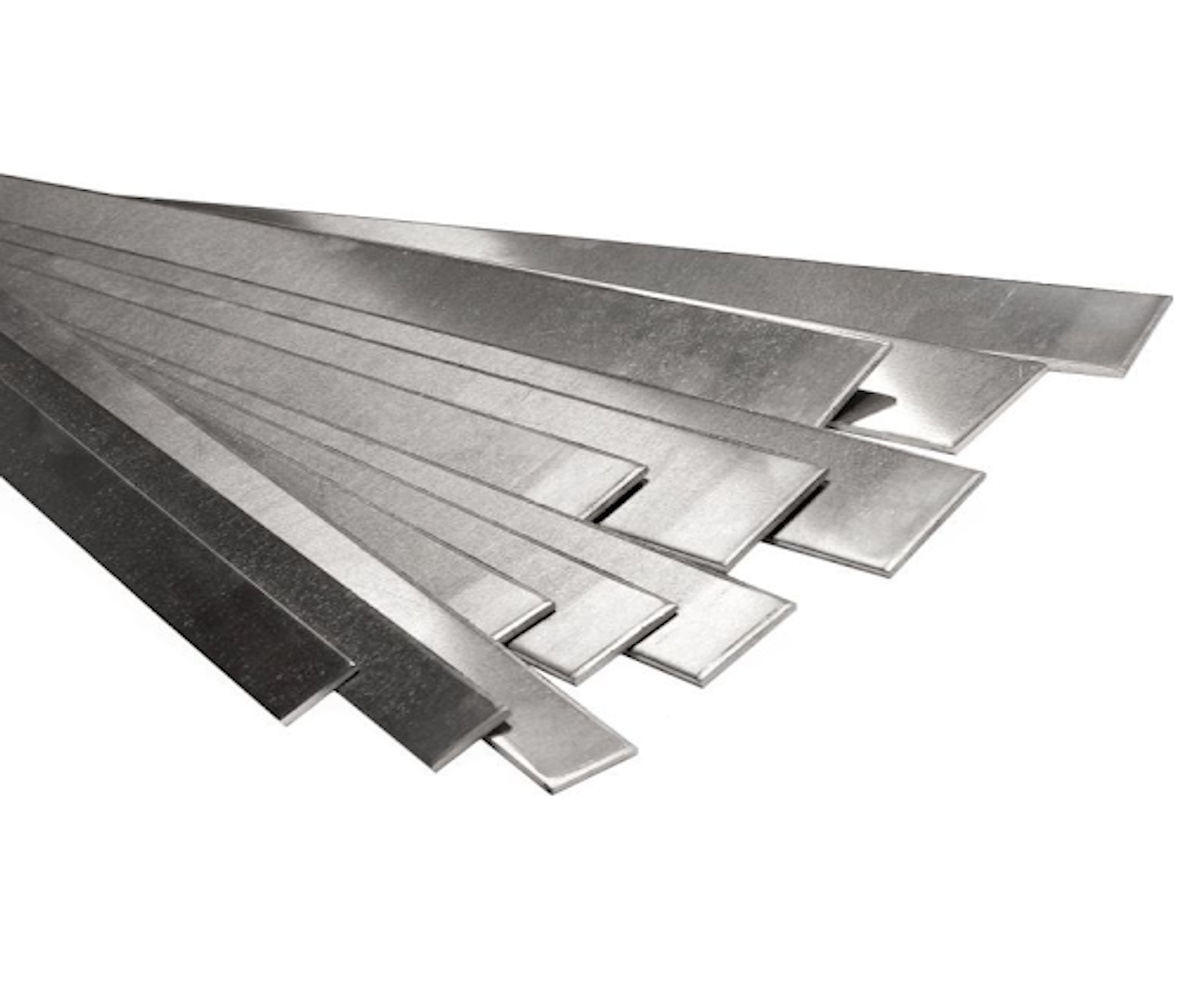
PVC pipe section Custom plexiglass window PVC end cap Dahua IP dome camera UTP cable gland Outdoor UTP cable Foam padding Aluminium strip Metal bottom plate Waterproof sealant Black spray paint Basic tools

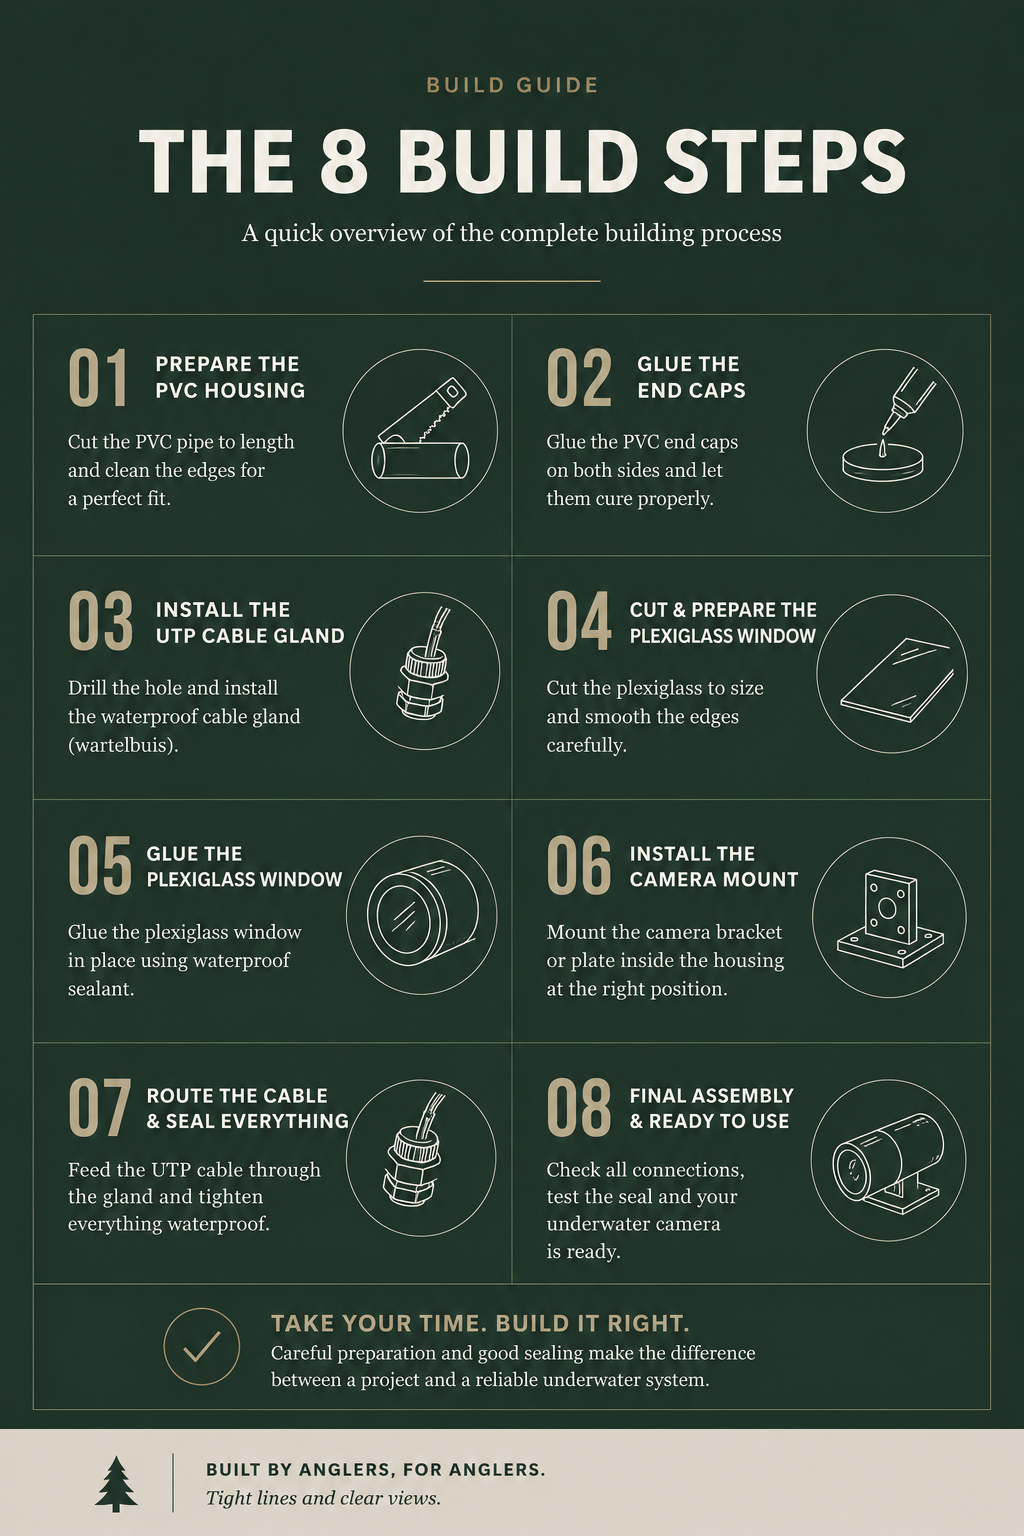
The complete build in 8 steps

A quick visual overview of the full housing build before going into the individual steps.

Infographic showing the 8 steps of the underwater camera housing build

Build workflow

Step 1

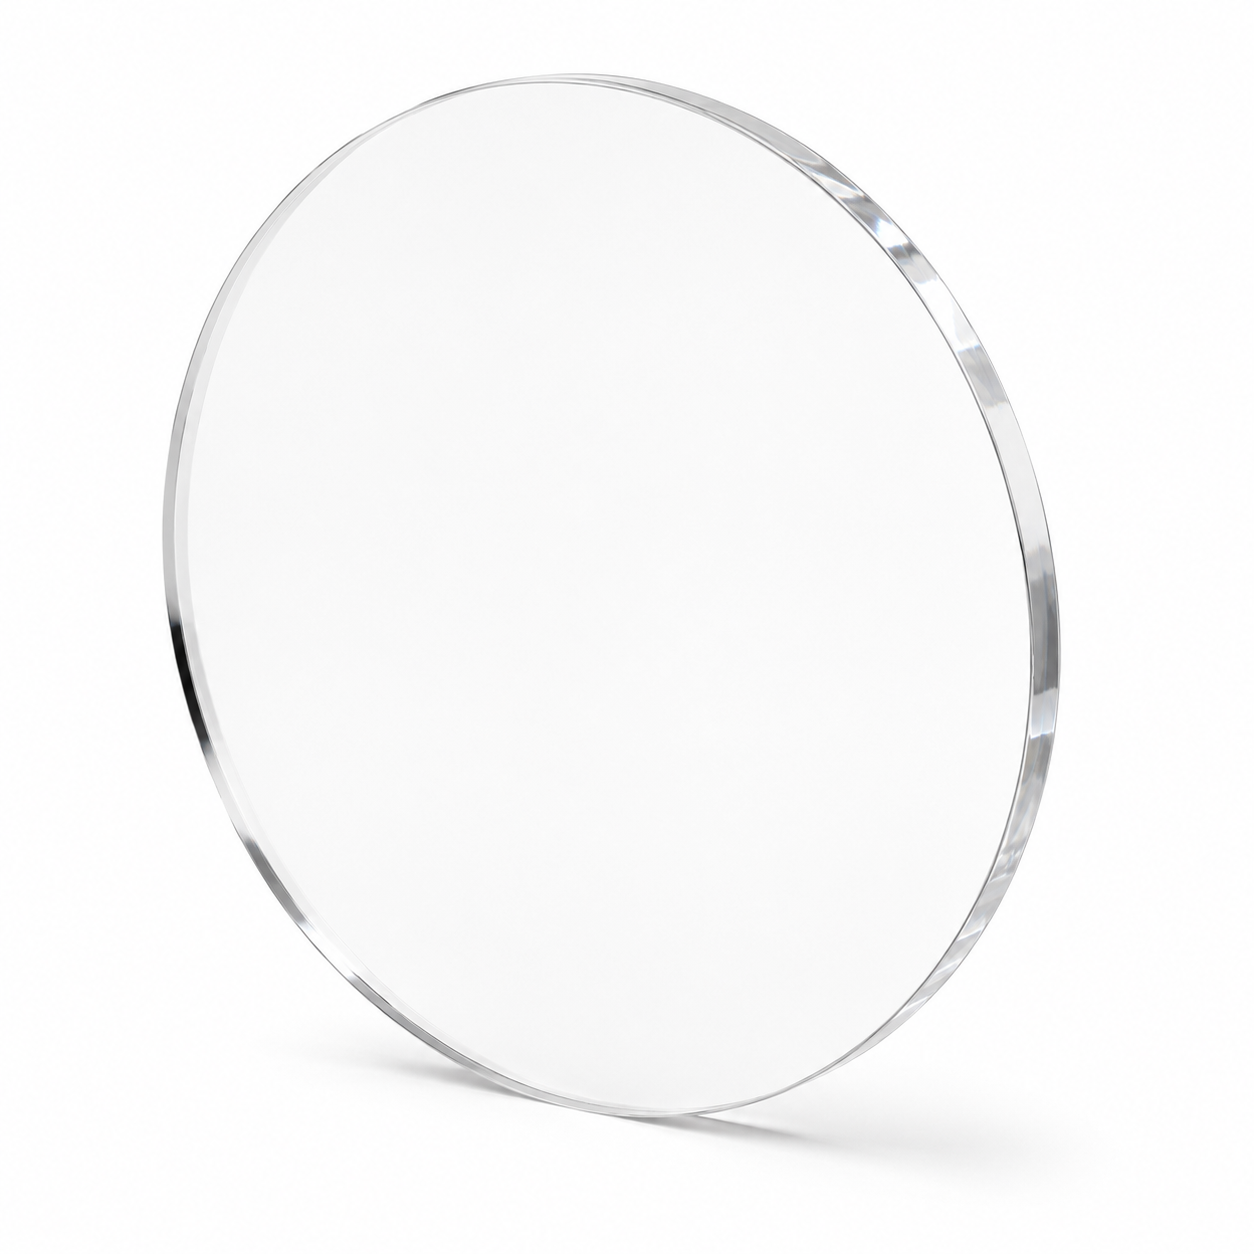
Measure and seal the plexiglass window

Measure the exact diameter of the PVC pipe and order the plexiglass window precisely to size. Mount the custom-cut plexiglass onto the PVC section and apply a thick, continuous layer of sealant to make the front window watertight.

Step 2

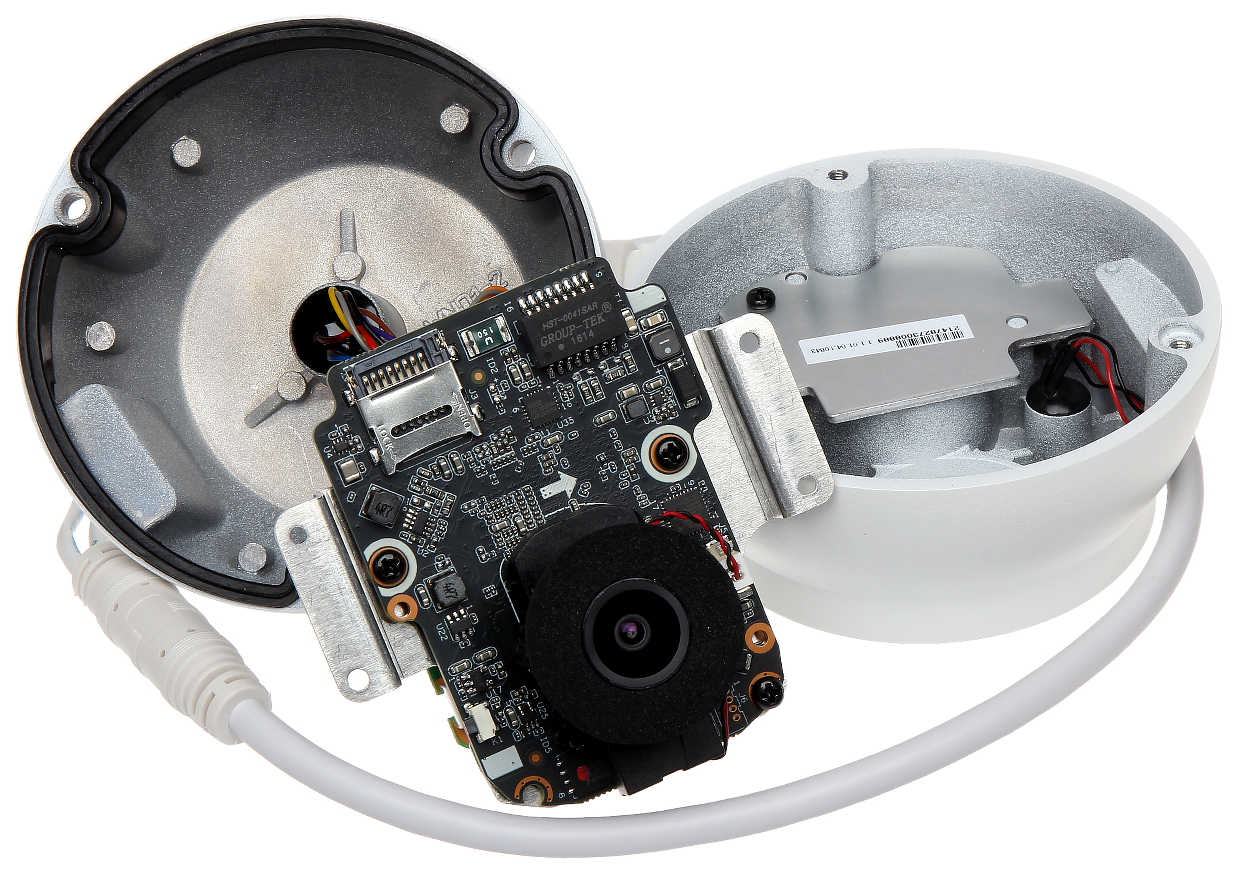
Disassemble the IP dome camera

Carefully take the IP dome camera apart so the camera module can be positioned inside the PVC housing.

Step 3

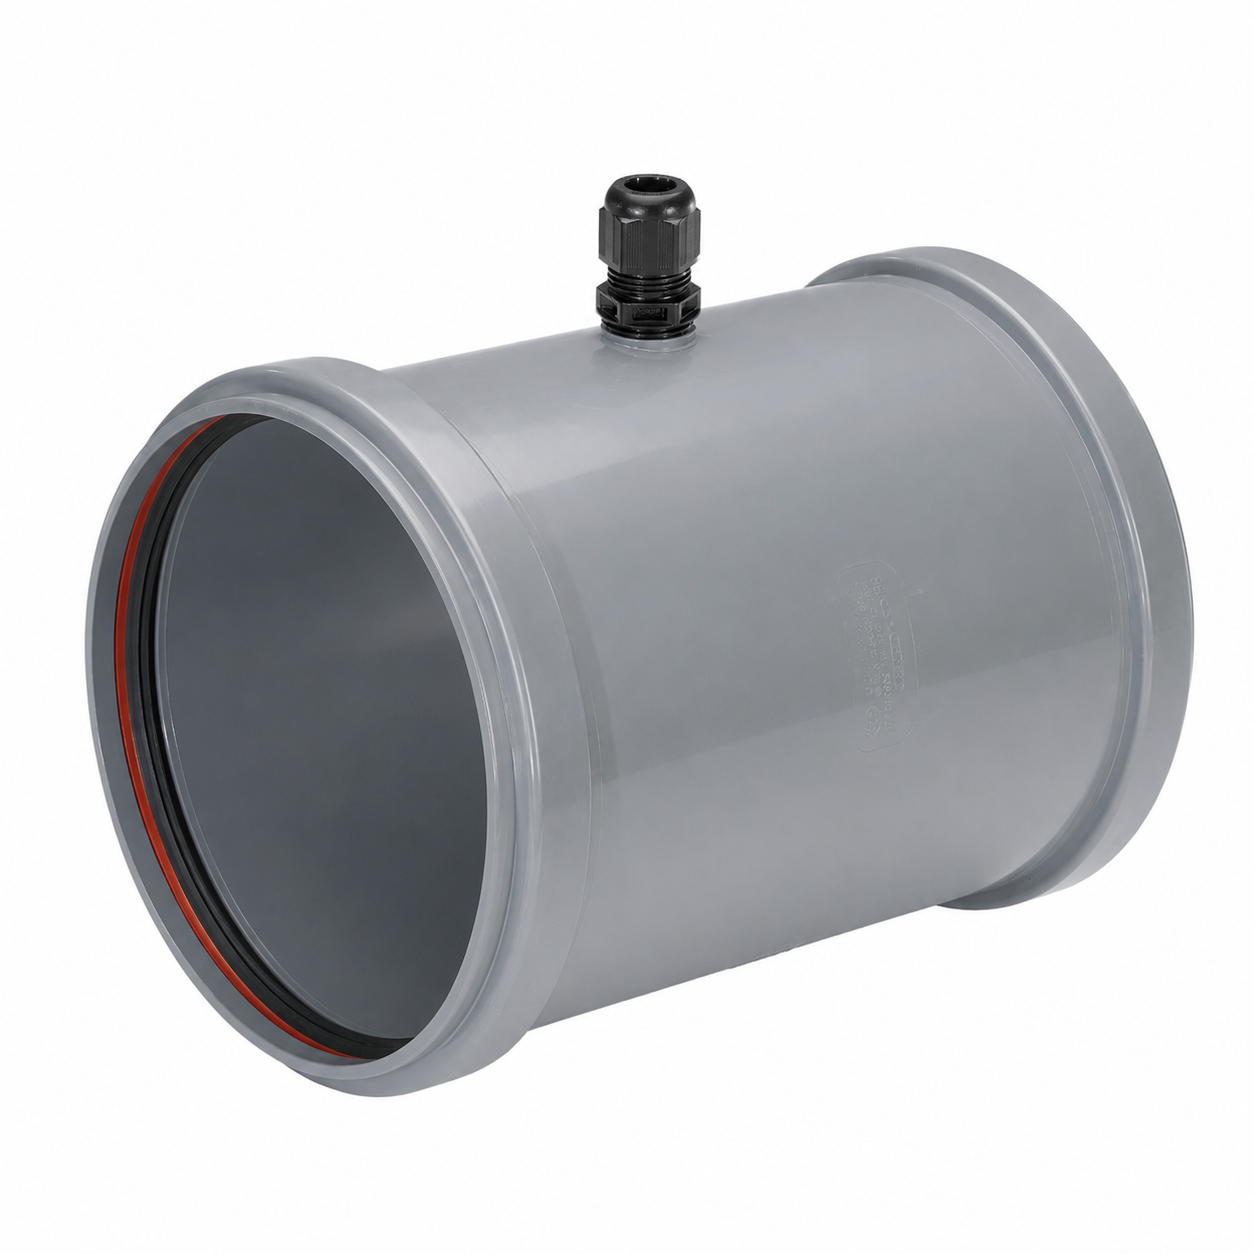
Install the UTP cable gland

Drill a hole that matches the UTP cable gland exactly. Place the gland where there is enough space to mount the camera bracket next to it later. Install the gland firmly and make sure the cable entry can be sealed properly.

Step 4

Position the lens and connect the cable

Place the camera lens directly against the plexiglass. Use foam to fill the remaining space and clamp the camera firmly in position. Leave enough space to pull the UTP cable through the gland, attach the UTP connector and plug it into the camera.

Tip: test the camera before sealing the housing. The software setup is explained in the Software & Configuration section.

Step 5

Seal the PVC end cap

When everything works, close the PVC pipe with the end cap. Apply sealant generously and make sure the complete rear section is watertight.

Step 6

Create the aluminium support structure

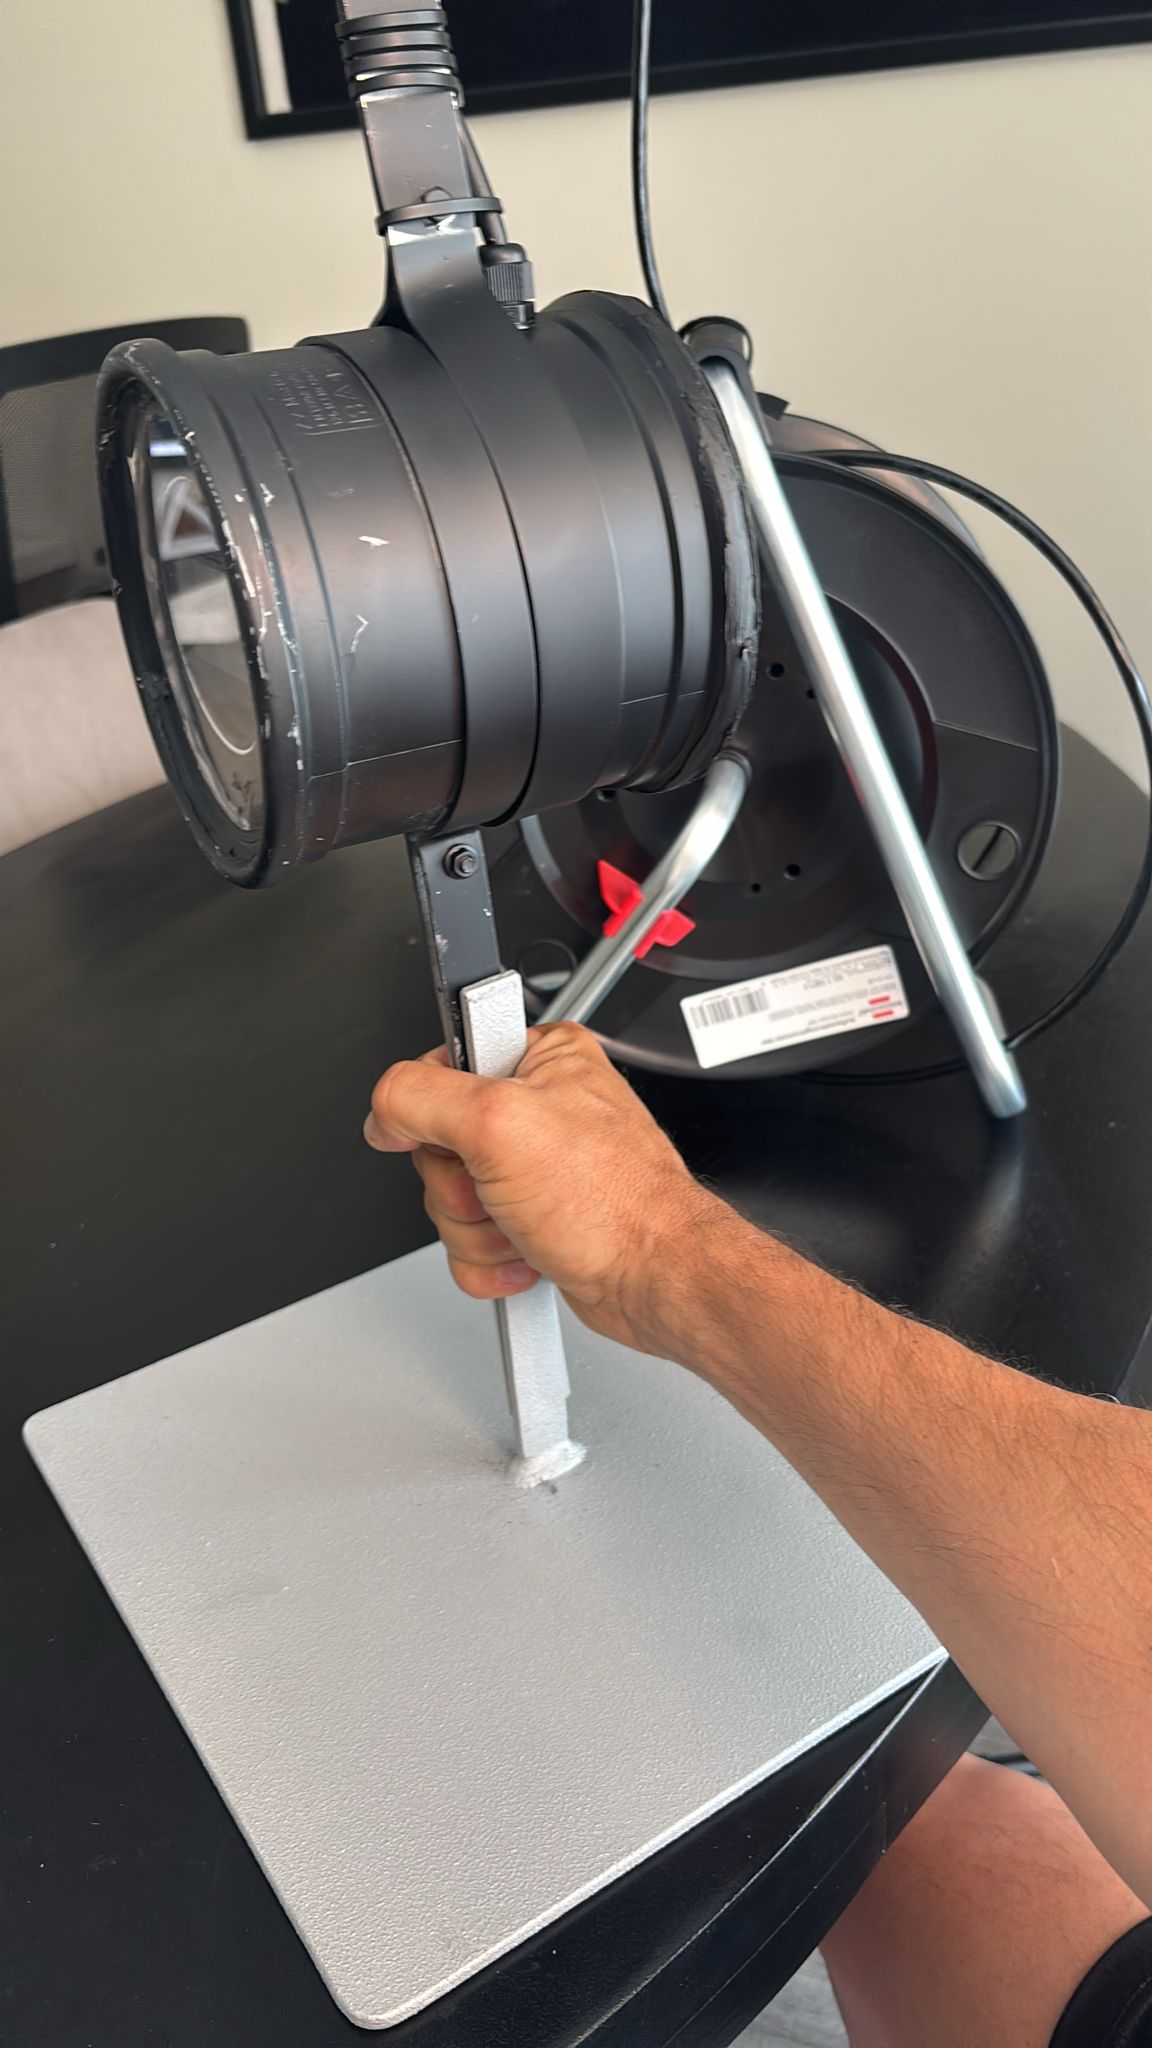
Bend the first aluminium strip tightly around the PVC housing and bolt the ends together to create a secure mounting collar. Extend this strip approximately 20 cm beyond the housing so it can later be attached to the metal bottom plate.

Add a second aluminium strip alongside the first and bend it upwards. This strip acts as a support arm for the UTP cable and prevents unnecessary strain on the waterproof cable gland. Secure the cable to the strip using cable ties, ensuring that any pulling force is absorbed by the aluminium support rather than the camera housing itself.
Step 7

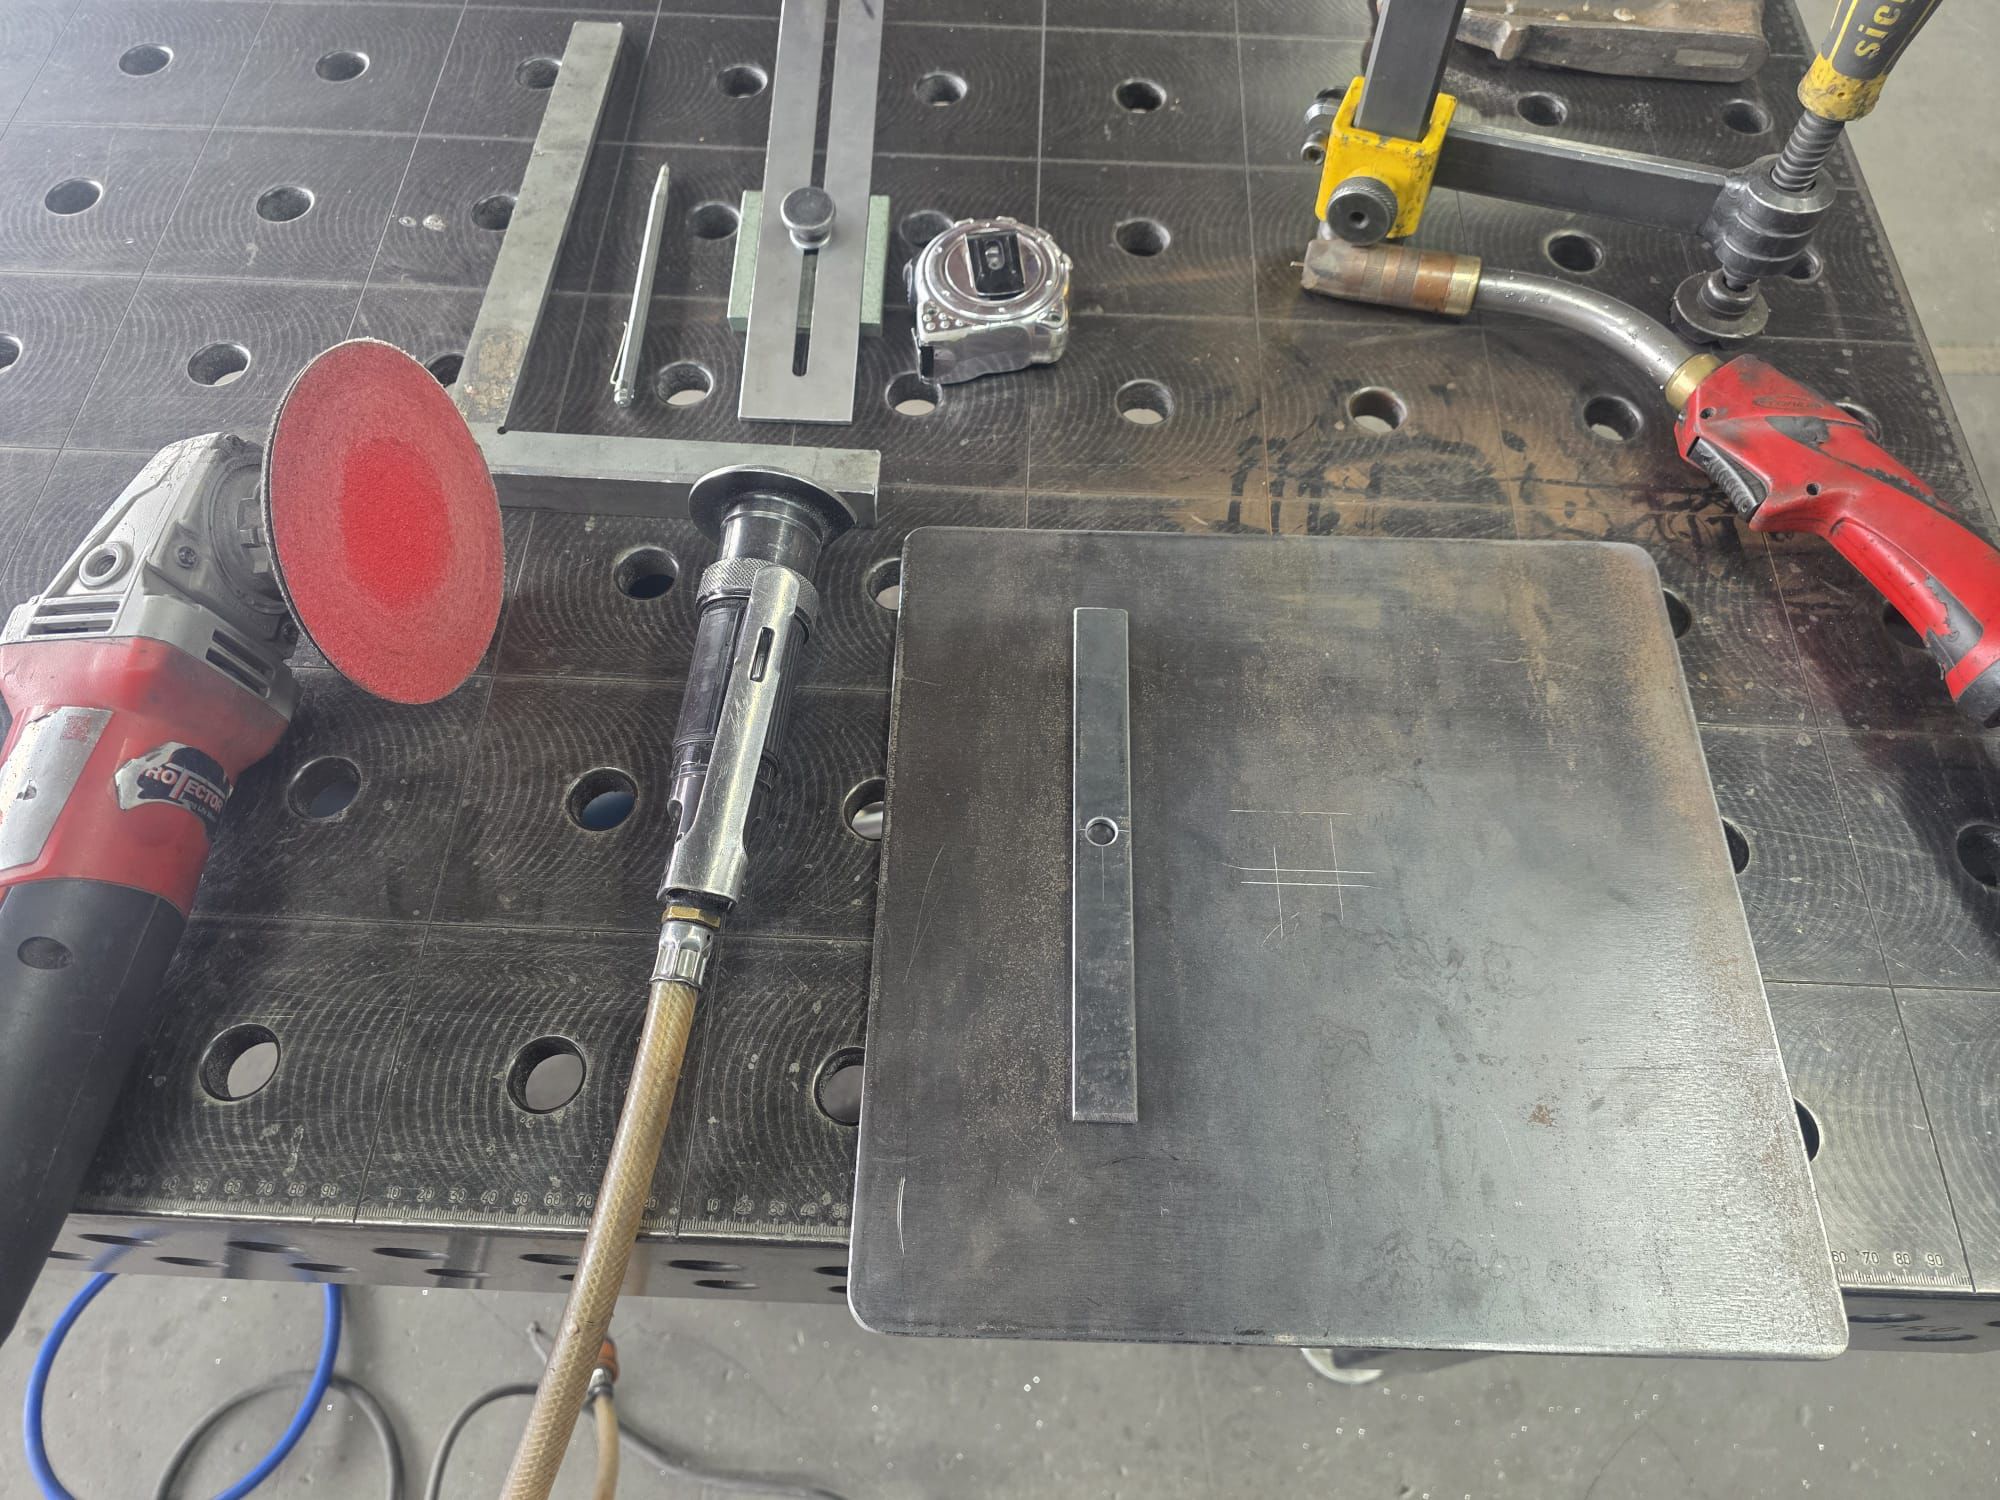
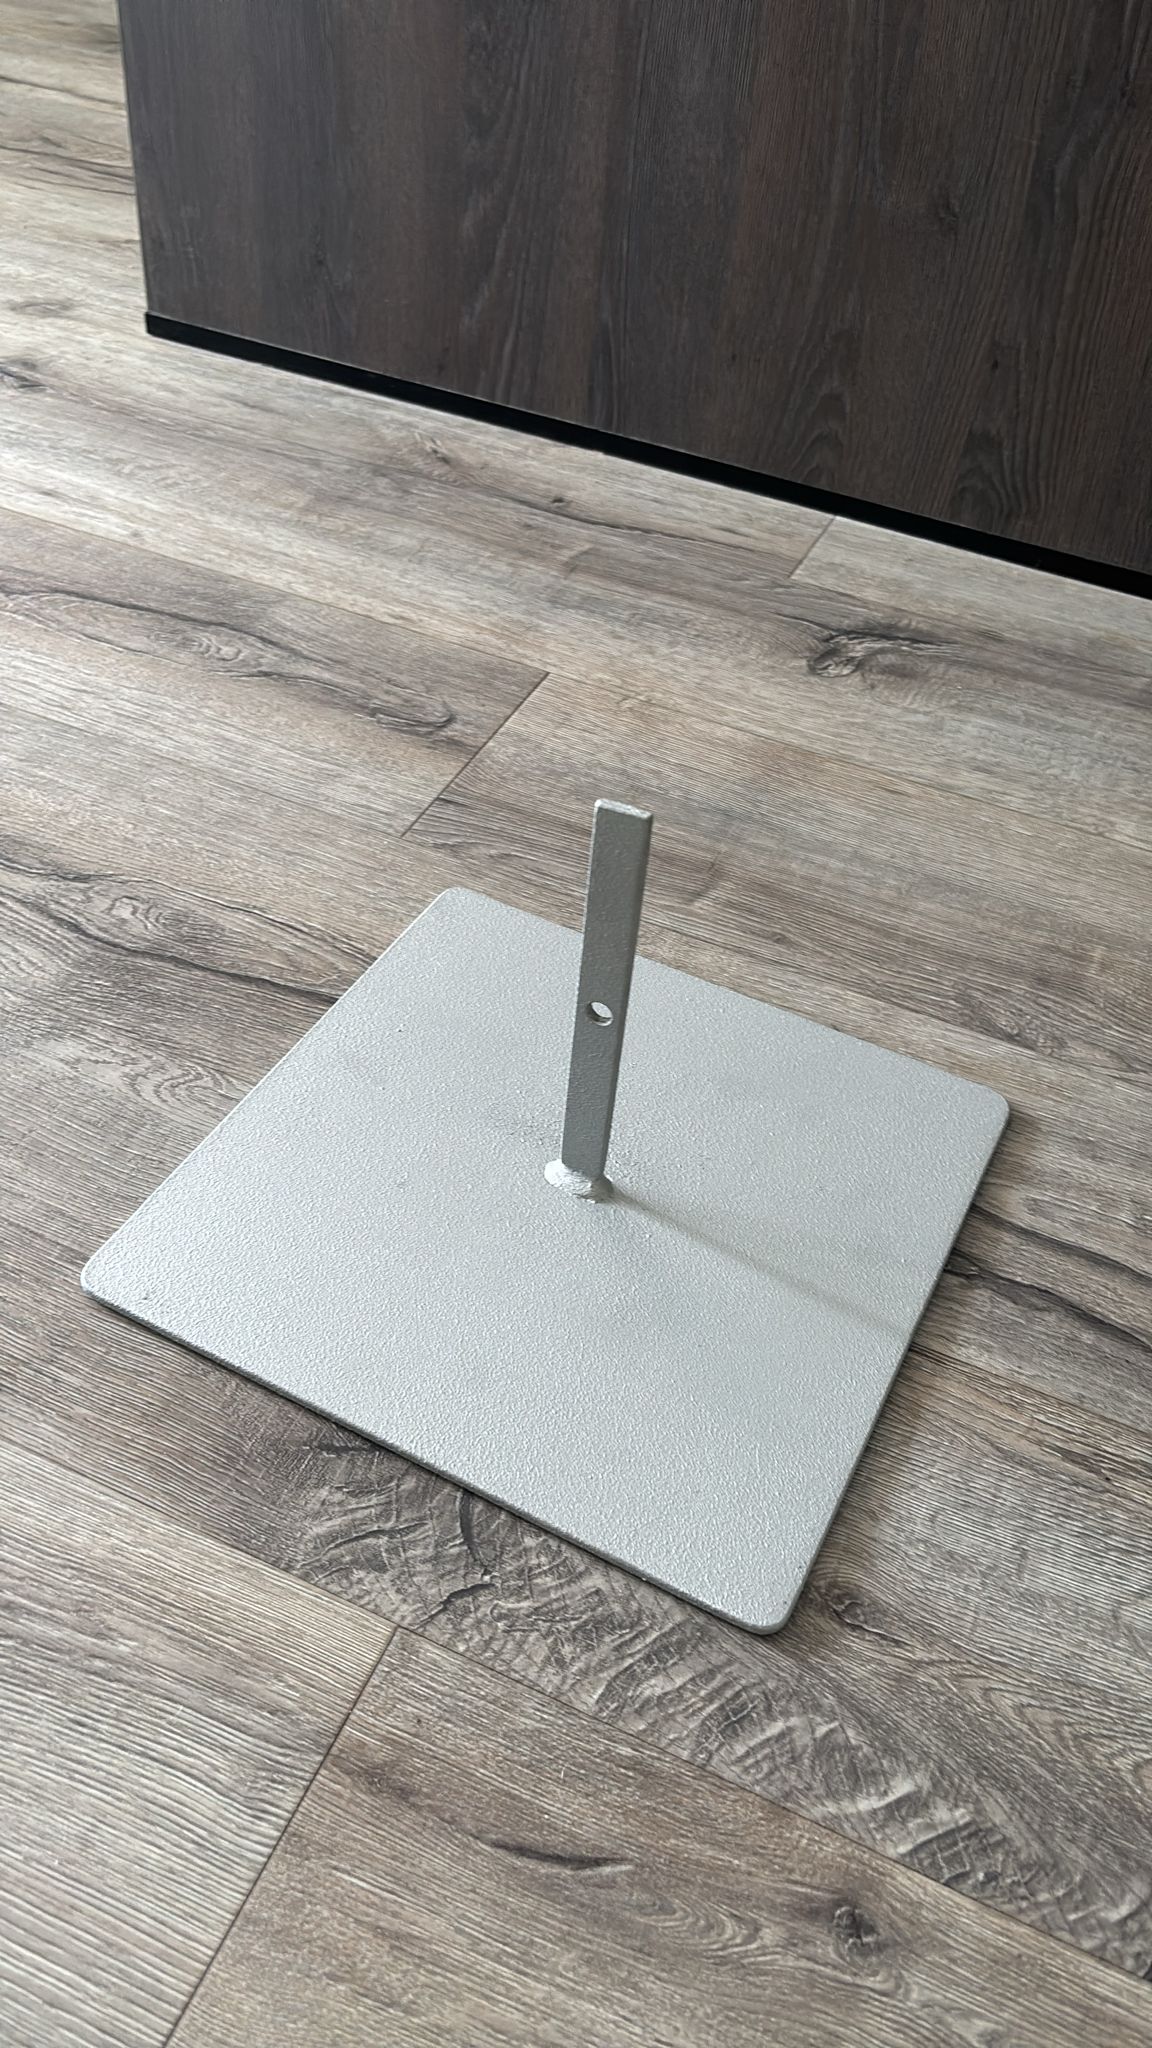
Build the coated metal bottom plate

Have a metal plate made so the camera strip can be mounted securely. The plate also acts as a stable stand for placing the camera on the lakebed. A protective coating helps prevent rust.

Step 8

Spray the complete setup black

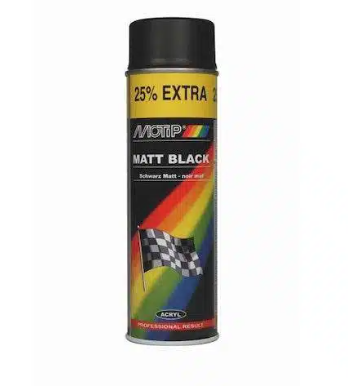
Finish the complete housing and mounting plate with black spray paint for a cleaner look and a more discreet underwater setup.